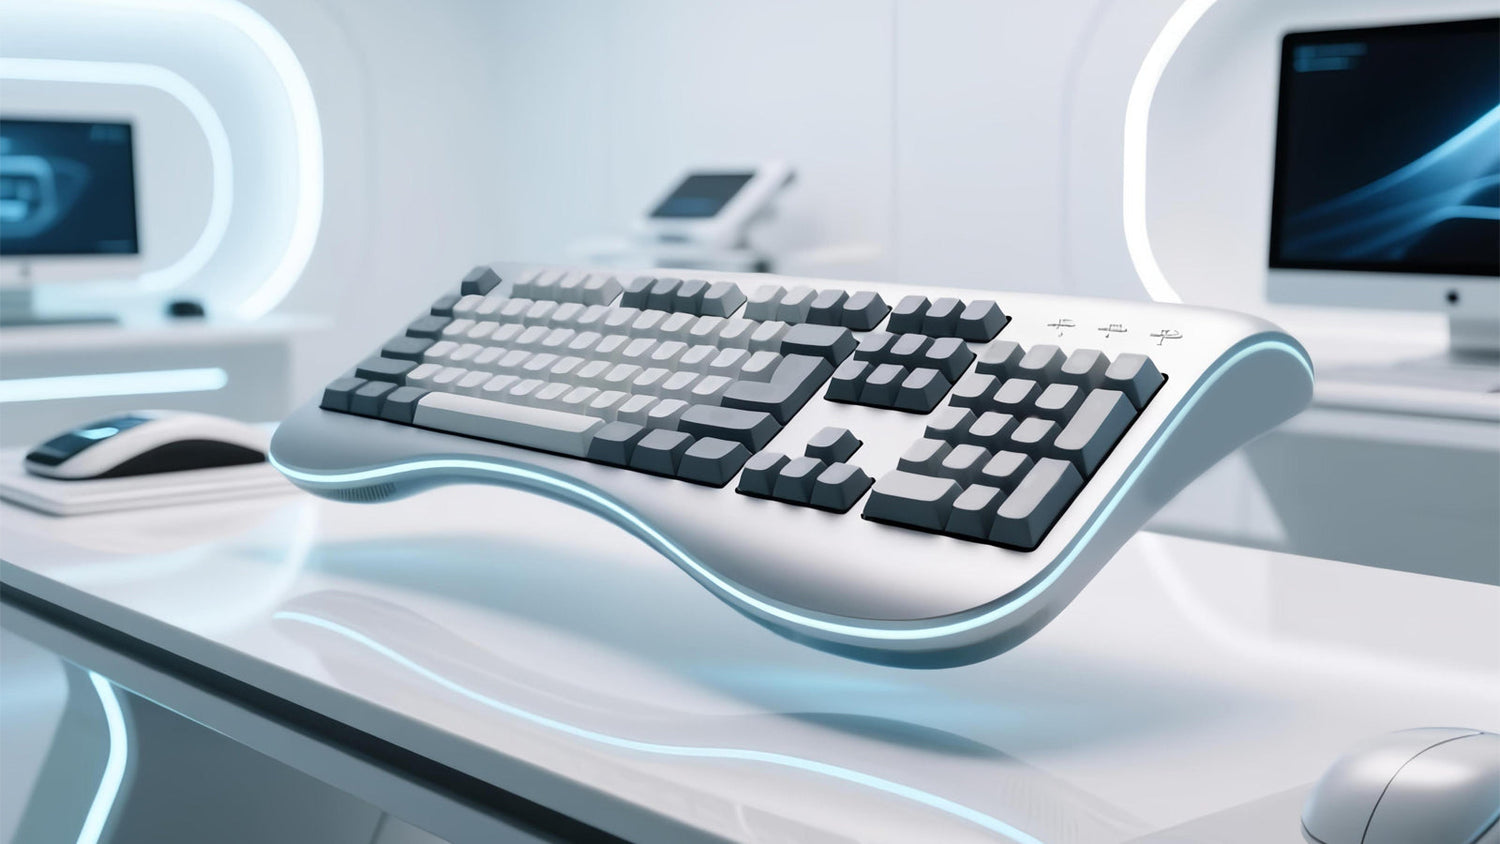
一日中タイピングしていても、手が痛くなるのは避けたいものです。しかし、長時間デスクワーク、ゲーム、勉強をする人は、手首の痛み、前腕のこわばり、指の痺れといった症状に悩まされることがよくあります。多くの読者が新しいキーキャップやスイッチを試しても、あまり変化が見られません。これらの症状は、姿勢とキーボードの調整がうまくいって初めて緩和されることが多く、エルゴノミクスキーボードがまさにその役割を果たします。
手首の痛みはなぜ起こるのか
関節がニュートラルレンジから外れた状態が長時間続くと、不快感が増します。症状を引き起こす2つの姿勢は、手首の伸展と側方偏向です。机の高さ、キーボードの角度、手の伸ばし方などによって、これらの角度はニュートラルレンジから外れます。
すぐに見つけられる一般的なトリガー:
- キーボードが高すぎるため、肩が上がり、手首が伸びてしまいます。
- ボードが狭いか回転しているため、前腕が内側に傾き、尺骨偏位または橈骨偏位を引き起こします。
- 指が伸びる間、手のひらは硬い縁に固定されるため、手首のしわに負担がかかります。高さと位置を少し調整するだけで、 手根管内の圧力が軽減され、腱が滑るスペースが生まれます。
「エルゴノミクスキーボード」の本当の意味
この用語は、ニュートラルな姿勢に近づけるデザイン上の選択を指します。 エルゴノミクスキーボードは、指先から肘までのラインを一直線にし、手首と前腕周辺の筋肉への負担を軽減することを目的としています。
デザインの指針となる3つの目標:
- レイアウトを広げたり分割したりして、横方向の偏差を減らします。
- 適度なテンティング角度で前腕の回内を楽にします。
-
低いフロントエッジや、それに合わせた手のひらサポートによって手首の伸展を制限します。手や机はそれぞれ異なるため、形状だけでなく調整機能も重要です。
人間工学に基づいたキーボードの構造
レイアウトとサポート機能が大きな役割を果たします。分割された半分のパッドにより、それぞれの側を肩幅に配置でき、前腕がまっすぐに伸びます。円柱状のスタッガー構造により、小指と薬指の斜めの伸びを軽減します。テンティングローテーションにより、内側のエッジが数度持ち上がり、回内を緩和します。手のひらサポートにより、一時停止時に手がキー面と水平に保たれます。キーの高さに一体型のレストを好む人もいれば、スライド式の別置きレストを好む人もいます。手首のしわではなく手のひらをサポートすることで、関節が伸展方向に倒れるのを防ぎます。
これらの要素が連携することで、ボードは落ち着きと予測可能性を帯びた感触になります。動きは小さくなり、肩は下がり、指は自然な軌道を保ちます。

エルゴノミクスキーボード vs 標準キーボード:エビデンスと結果
標準的なコンパクトボードは多くのデスクにフィットしますが、前腕が内側に傾き、鋭い縁に手を添える姿勢になりがちです。人間工学に基づいたキーボードは、より広い姿勢、よりまっすぐな手首、そしてより低いフロントエッジを促します。研究では、姿勢の改善は一貫して認められていますが、症状の程度はワークステーションの質や練習時間によって異なります。
標準ボード
- 小さな机の上にも置きやすい。
- 手首の伸展と内側の角度を増やすことができます。
- 快適さはトレイの高さとタイピングのスタイルに大きく依存します。
人間工学に基づいたキーボード
- 分割オプションとテンティング オプションを使用して、ニュートラルな配置を促します。
- 適切な高さと組み合わせると、長時間のセッション中の負担が軽減されます。
- スピードが戻るまでには、少しの学習期間が必要です。まずは快適さが向上し、次に精度が安定します。フォームが自然になれば、スピードもついてきます。
人間工学に基づいたキーボードへの効果的な移行方法
一度にすべてを切り替えると、ユーザーはイライラしがちです。ペース配分されたプランは、快適さを維持し、ワークフローを維持します。
4ステップのタイムライン:
- 1週目:新しいボードを1日1~2時間使用します。前腕がまっすぐ前を向くように半分にセットし、軽くテンティング角度をつけます。
- 2週目:半日使用まで伸ばします。肩をリラックスさせ、キーを軽く叩くようにします。
- 第3週:高さを確認します。手首がボードの端より上に出ている場合は、ボードを下げるか、椅子を上げて足を支えます。
-
4週目:安定したフォームで一日中使えるように練習しましょう。もしホットスポットが現れたら、テンティングを減らすか、距離を少し離して再テストしましょう。短いセッションでしっかりとした姿勢を保つことで、持続的な習慣が身につき、エルゴノミクスキーボードの自然な使い心地を実感できます。
補完的な習慣:姿勢と休憩
ハードウェアの変更は、簡単な習慣を身につけることで、よりスムーズに行えます。モニターは、画面の上部3分の1に視線が合うように設置しましょう。 ポインティングデバイスは近くに置き、同じ高さに保ちましょう。同様に、 マウスの長時間使用による手首の痛みを軽減する方法も知っておくことが重要です。両足を床またはフットレストにつけ、短い休憩を取りましょう。
忙しい毎日にぴったりのシンプルサイクル:
- 30分ごとに2分間休憩します。立ち、肩を回し、手を開いたり閉じたりします。
- ゆっくり呼吸して、手の位置をホーム ロウに戻します。
-
エルゴノミクスキーボードによる手首の痛みに関連する症状の悪化を記録し、どのような変更を加えたかをメモしてください。1週間以内にパターンが明らかになり、より効果的な調整につながります。
購入ガイド:エルゴノミクスキーボードの選び方
解決したい問題から始めて、それを機能と照らし合わせます。表が簡潔なので、この作業が早く進みます。
| 主な症状 | 何を優先すべきか | なぜ役立つのか |
|---|---|---|
| 手首の内側の角度 | 測定可能な間隔で分割されたレイアウト | 前腕の軌道をまっすぐにし、偏差を軽減します |
| 内反による前腕の疲労 | 調整可能なテンティング回転 | 手首の回内を抑え、圧力を軽減します |
| 前端の延長 | 低いフロントハイトと手のひらサポート | 一時停止中に手をキープレーンと同じ高さに保つ |
| 狭いデスクスペース | 柔軟な間隔を備えたコンパクトなスプリット | 表面を混雑させずに肩幅を維持します |
スプリットディスタンス、テンティングアングル、フロントハイトを調整できるキーボードを選びましょう。次に、キーの感触とレイアウトを確認し、タイピングの流れを損なわないようにしてください。エルゴノミクスキーボードを選ぶ際には、まず姿勢を重視し、次に感触を重視しましょう。そうすることで、快適さの向上に投資を集中させることができます。
コスト、利益、生産性のROI
アップグレードにはそれなりの代償が伴いますが、日々の不快感にも同様に代償が伴います。痛みは、作業の中断、入力速度の低下、そしてミスの増加につながります。より正確な位置合わせにより、ニュートラルな角度でより長く作業できるようになります。ユーザーの4分の1以上が、集中力が安定し、一日の終わりの疲労感が軽減されたと報告しています。
ROIが本物であることを示すシグナル:
- 痛みによる予定外の休憩が少なくなります。
- 即席のパッドやトレイの必要性が低くなります。
- タイピングの精度がベースラインに戻り、ペースも上昇傾向にあります。
午後遅くには肩や首の緊張が軽減されます。エルゴノミクスキーボードをワークステーション全体の計画の一部として扱うと、その価値がより明確になります。
手首の負担を軽減するエルゴノミクスキーボードのセットアップ
今週、一つだけ変更点を選んで試してみてください。椅子と机の高さは、前腕が水平になるように調整しましょう。キーボードは肩がリラックスできる位置に置き、ポインティングデバイスも同じ高さで近づけてください。姿勢が改善されても負担が残る場合は、スプリット、テンティング、パームサポートが適切に組み合わされたエルゴノミクスキーボードに切り替えましょう。毎日の作業の中で短い時間で練習し、毎週角度を見直しましょう。小さな改善を着実に積み重ねることが、 手首の痛みを軽減・予防し、仕事、ゲーム、勉強の原動力となる関節を守る鍵となります。

エルゴノミクスキーボードの最適化に関する5つのよくある質問
Q1. スイッチの力とキーの移動は手首の負担に影響しますか?
A :はい。アクチュエーションが高く、バネが重いため、指の屈筋への負荷が高まり、しっかりとしたボトムアウトが促されます。適度な力は、多くのユーザーがリラックスしたタッチを維持するのに役立ちます。トラベルが短いため、プレートへの衝撃エネルギーが軽減されます。力の調整と、よりソフトな着地の練習を組み合わせることで、長時間のセッションで蓄積されるストレスを軽減できます。
Q2. 手首の快適性を高めるには、キーボードの傾きはどの程度が最適ですか?
A :前端が後端よりも低くなるように、わずかにマイナス方向に傾けることを目標にしてください。そうすることで手首の伸展が抑えられます。プラス方向に傾けると手首が上方に押し上げられるので、避けてください。肘が机の高さに近くなるようにトレイの高さを調整し、横から見て手首が前端に押し付けられることなくまっすぐに見えるように微調整してください。
Q3. スプリット距離とテンティングのサイズを素早く決定するにはどうすればよいですか?
A :それぞれの半分を肩の真下に置き、前腕と肘を大体肘の真下に合わせます。最初は小さなテンティング角度から始め、前腕がまっすぐでリラックスしているように見えるまで角度を増やしていきます。10分間のサンプルを入力し、前腕の外側の緊張や指のずれがないか確認します。ホットスポットが現れた場合は、スプリット角度やテンティング角度を下げます。
Q4. エルゴノミクスキーボードはゲームや高速バインドに適していますか?
A :はい。レイテンシーは接続とコントローラーに依存し、レイアウトには依存しません。対戦プレイには有線モードをご利用ください。一般的なバインドはスプリットシーム付近に配置し、親指に修飾子を配置して横方向へのリーチを減らしましょう。マウスを同じ高さに保ち、ボードに近づけることで、手の動きが短く安定した状態を保ちます。
Q5. 機器を調整する代わりに、いつ臨床医に診てもらうべきでしょうか?
A :夜間のしびれ、進行性の筋力低下、物を落とす、持続的な腫れ、腕に広がる痛みがある場合は、医師の診察を受けてください。作業環境を変えても2~3週間以上続く新たな症状は、評価を受ける必要があります。早期のアドバイスは、姿勢に起因しない原因を排除し、人間工学的なプランを効率的に改善するのに役立ちます。


